
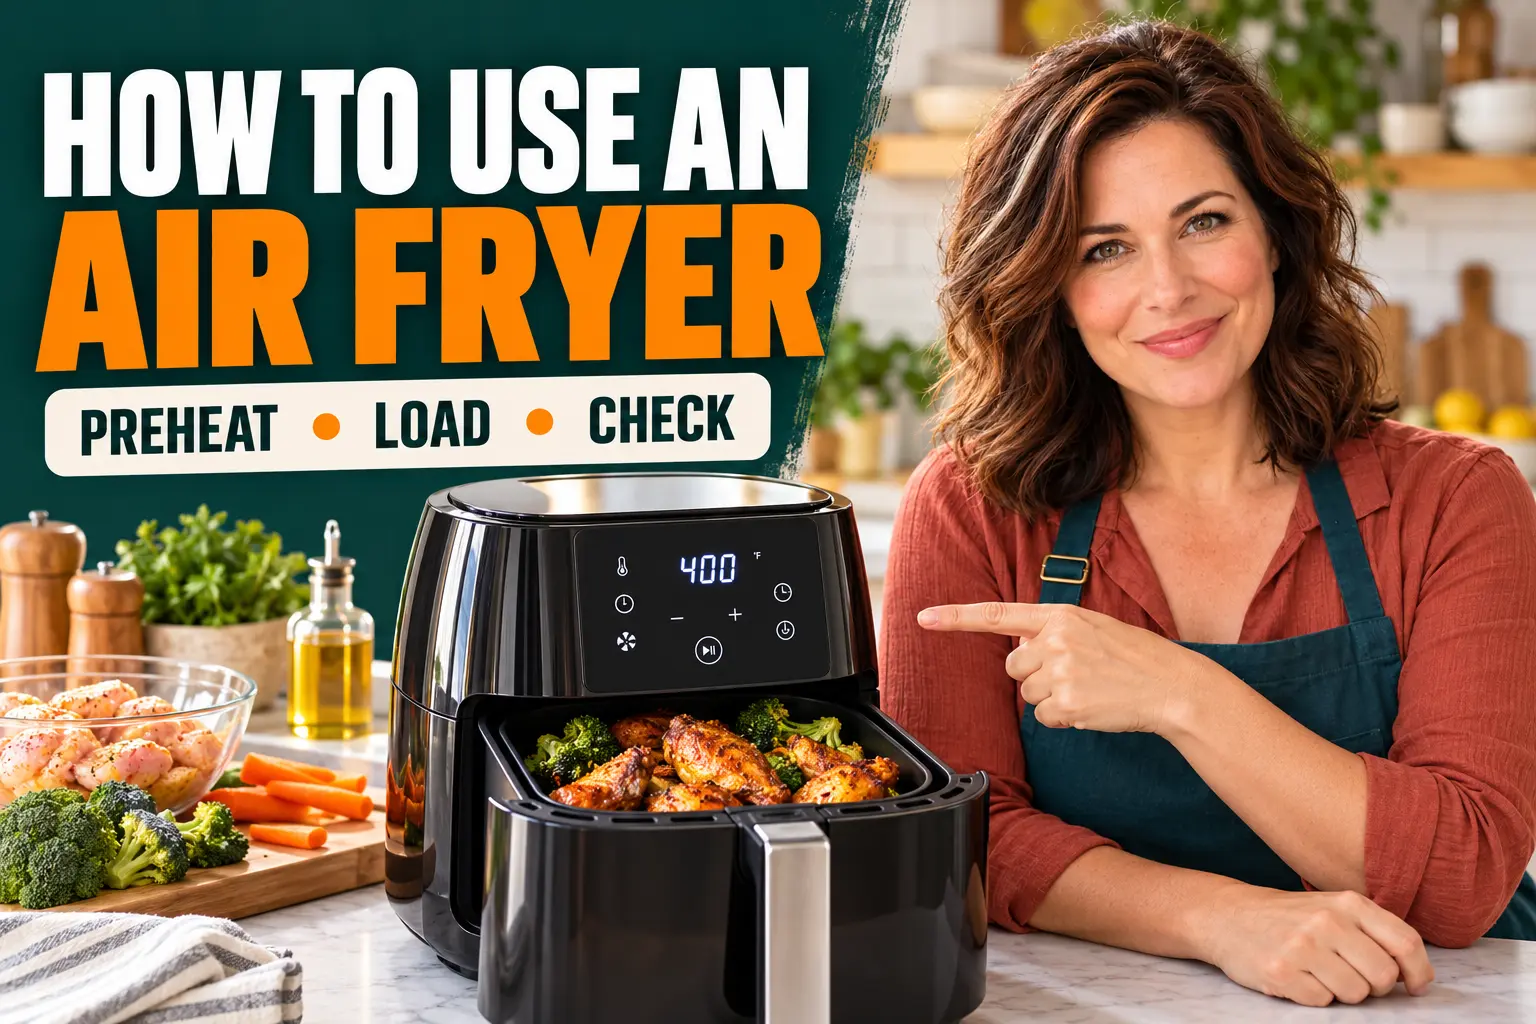
Quick answer: Place the air fryer on a heat-resistant surface with the required clearance, load food without blocking airflow, choose a suitable temperature and time, then turn or shake the food and verify doneness. After cooking, unplug the cooled appliance and clean the removable parts according to its manual.
An air fryer is a compact convection cooker: a heating element warms the chamber while a fan moves hot air around the food. The controls vary, but the basic method is the same for basket, dual-zone and oven-style models. The useful skill is not memorizing presets; it is matching food thickness, basket load and doneness checks to the appliance in front of you.
This beginner’s guide explains how to use an air fryer for the first time and for everyday cooking. Temperatures below are practical starting points, not guarantees. Your model’s manual and a food thermometer take priority because wattage, chamber shape and portion size change cooking speed.
Before switching on
Remove packaging, seat the basket correctly, check the outlet and leave the manufacturer’s ventilation clearance around the appliance.
While loading
Keep food below the maximum line and preserve open space around pieces. A slightly smaller load usually browns better than an overfilled basket.
During cooking
Check earlier than an oven recipe suggests. Shake small food, turn larger pieces and swap rack positions in oven-style models when needed.
Before serving
Judge doneness with texture and a thermometer—not color alone—then place the hot basket on a heat-safe surface.
How to use an air fryer in 8 steps
- Read the model-specific safety page. Confirm clearance, maximum fill, dishwasher-safe parts and whether the manufacturer recommends preheating. Dual-voltage travel assumptions are unsafe unless the rating label explicitly supports them.
- Position it correctly. Use a stable, dry, heat-resistant counter. Keep vents away from walls, curtains, paper and the underside of low cabinets. Never place the appliance on a stove that could be switched on.
- Prepare the food. Pat wet surfaces dry, cut pieces to similar thickness and use only a light coating of oil when it helps browning. Do not pour oil into the drawer as if it were a deep fryer.
- Preheat only when useful. Some recipes benefit from a short preheat, especially breaded proteins and frozen food; other models compensate automatically. Follow the manual and count preheat energy and time when comparing recipes.
- Load for airflow. Arrange flat foods in one layer when crisping matters. Loose vegetables or fries can overlap moderately if you shake them. Never let parchment or foil sit loose near the heating element.
- Set time and temperature. Start with the recipe or package guidance for air frying. When adapting an oven recipe, reduce time first and inspect early rather than relying on one universal conversion rule.
- Turn, shake and inspect. Open the drawer safely at the halfway point. Turn proteins with silicone-tipped tongs, shake fries and rotate trays if the rear cooks faster than the front.
- Verify, rest and clean. Check safe internal temperature in the thickest part, allow food to rest where appropriate, then cool the appliance before wiping grease and washing removable parts.
Air fryer time and temperature starting points
Use these ranges to plan the first check. Size, starting temperature and basket load matter more than the name of the food.
| Food | Starting range | What to do | Doneness check |
|---|---|---|---|
| Frozen fries | 375–400°F / 190–205°C, 12–20 min | Shake two or three times; avoid a tightly packed basket. | Crisp outside and hot through; follow package directions. |
| Fresh vegetables | 360–400°F / 180–205°C, 8–18 min | Dry, lightly oil and keep pieces similar in size. | Tender center with the browning you prefer. |
| Boneless chicken breast | 360–380°F / 180–195°C, roughly 15–22 min | Turn once; thickness changes the time substantially. | 165°F / 74°C in the thickest part. |
| Leftovers | 325–375°F / 165–190°C, 3–10 min | Use a moderate temperature so the exterior does not burn first. | Steaming hot throughout; 165°F / 74°C for leftovers. |
Do you need oil or preheating?
Air frying does not require food to be submerged in oil. A measured teaspoon or a light mist can improve browning on fresh vegetables, potatoes and lean proteins. Many frozen breaded foods already contain oil, so adding more can increase smoke without improving texture.
Preheating is a recipe choice, not a universal rule. A hot chamber can set breading faster and improve the first batch, while thin vegetables or reheated food may not need it. If your model has an automatic preheat phase, do not add a second one unless the manual or tested recipe calls for it.
Basket, dual-zone and oven-style differences
A single basket gives concentrated airflow and is easiest to shake. A dual-zone model treats each drawer as a smaller cooker; total advertised capacity does not mean one large item will fit. An air fryer oven offers racks and visibility but often needs tray rotation because the upper and rear positions brown fastest.
Use match-cook or sync-finish functions only after setting each zone for its own food. If two foods release very different amounts of grease or steam, separate drawers can preserve texture better than one mixed basket.
Common beginner mistakes
Most disappointing first results come from blocked airflow, food that is too wet, a basket filled above its working capacity, or checking only at the final minute. Start with a modest load and keep notes on weight, cut size, time and temperature. One repeatable result teaches more than a long list of presets.
- Do not cover the entire perforated base with solid foil or an oversized liner.
- Do not use aerosol spray unless the basket manufacturer permits it.
- Do not assume a browned exterior proves poultry or thick meat is safely cooked.
- Do not place the hot drawer on laminate, plastic or another heat-sensitive surface.
Stop and unplug: Stop using the appliance if you see flames, sparks, a glowing or damaged cord, melting plastic, persistent black smoke or a strong electrical odor. Keep the drawer closed if food ignites, disconnect power only when it is safe to do so, and never throw water into an energized appliance.
Beginner checklist before pressing Start
- Correct voltage and undamaged cord
- Stable heat-resistant surface with open vents
- Basket, tray or racks seated correctly
- Food below the maximum line with room for airflow
- Time and temperature set for the actual food and load
- Thermometer ready for meat, poultry, seafood and reheated food
Related guides
- Air Fryer First-Use Guide
- What Can You Put in an Air Fryer?
- How to Clean an Air Fryer
- Air-Fryer-Safe Containers and Utensils
Sources and further reading
Reviewed September 25, 2026. Always follow the use-and-care manual for your exact model; controls, removable parts, clearances and error codes are not standardized.
Frequently asked questions
How do you use an air fryer for the first time?
Remove all packaging, wash and dry removable food-contact parts, check clearance and voltage, follow any model-specific initial-cycle instruction, then cook a small forgiving food while checking early.
Do you preheat an air fryer?
Preheat when the manual or recipe recommends it, or when a hot start helps breading and browning. Many everyday foods cook well without a separate preheat.
Can you put food directly in the air fryer basket?
Yes, most food is designed to sit directly in the clean basket or on its crisper plate. Preserve airflow and use a suitable container only when the recipe needs one.
Do you add water to an air fryer?
Do not fill the drawer with water for cooking unless the exact manual describes a steam or water-reservoir function. A standard air fryer is not a boiler or deep fryer.
How full can an air fryer basket be?
Stay below the model’s maximum line, but use less than that when crisping flat foods. One loose layer gives the most even browning; shakeable foods can overlap moderately.
About the Author

Clara Bennett
I write practical, model-specific air fryer reviews and comparisons. I focus on usable capacity, household fit, cleaning, materials, day-to-day ownership and value so you can choose the right appliance with fewer surprises.
Read my full profile and review method